Import Robot to IsaacLab
In this tutorial, we will show you how to import a robot to IsaacLab. In this tutorial, we follow how the Nvidia Team suggests to organizing custom assets in IsaacLab, and I will use Fetch robot as an example.
First of all, you need to provides the robot URDF. For example, for Fetch Robot, you can find it in the fetch_description package. You can download the fetch_ros in the home directory first. Then, you can come back to the isaaclab home and run the command to convert the URDF to SDF.
cd /workspace/isaaclab
./isaaclab.sh -p source/standalone/tools/convert_urdf.py \
   [path to your urdf file] \
  source/extensions/omni.isaac.lab_assets/data/Robots/[Company-Name]/[Robot-Name]/[Robot-Name].usd \
  --merge-joints \
  --make-instanceable
Where convert_urdf.py has the following optional arguments:
--merge-joints: Consolidate links that are connected by fixed joints. (default: False)--fix-base: Fix the base to where it is imported. (default: False)--make-instanceable: Make the asset instanceable for efficient cloning. (default: False)
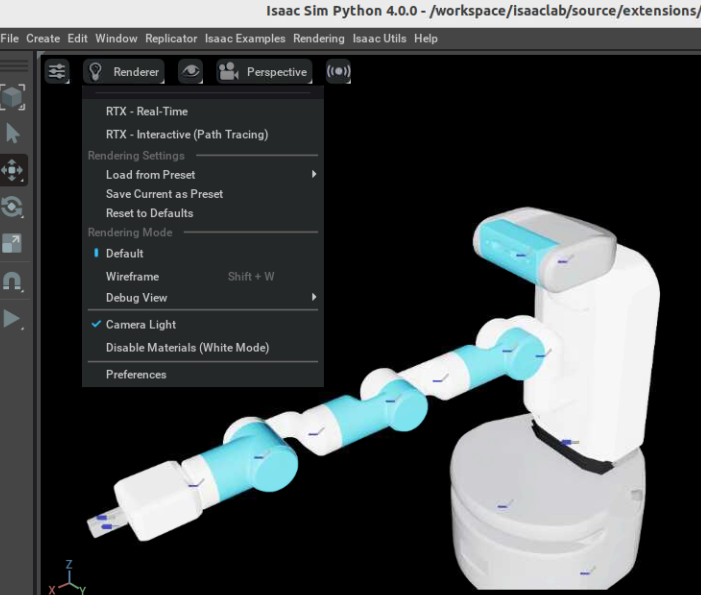
Once convertion is done, a Isaac Sim Python window should pop up. However, you can only see a black scene due to no light. Therefore, you can click the Renderer on the top left corner and turn on the Camera Light. Then, you can see the robot in the scene.
Here is the example of Fetch Robot in IsaacLab:

You can refer your robot in your code with the following code:
from omni.isaac.lab_assets import ISAACLAB_ASSETS_DATA_DIR

# ANYmal-C
ANYMAL_C_USD_PATH = f"{ISAACLAB_ASSETS_DATA_DIR}/Robots/ANYbotics/ANYmal-C/anymal_c.usd"
